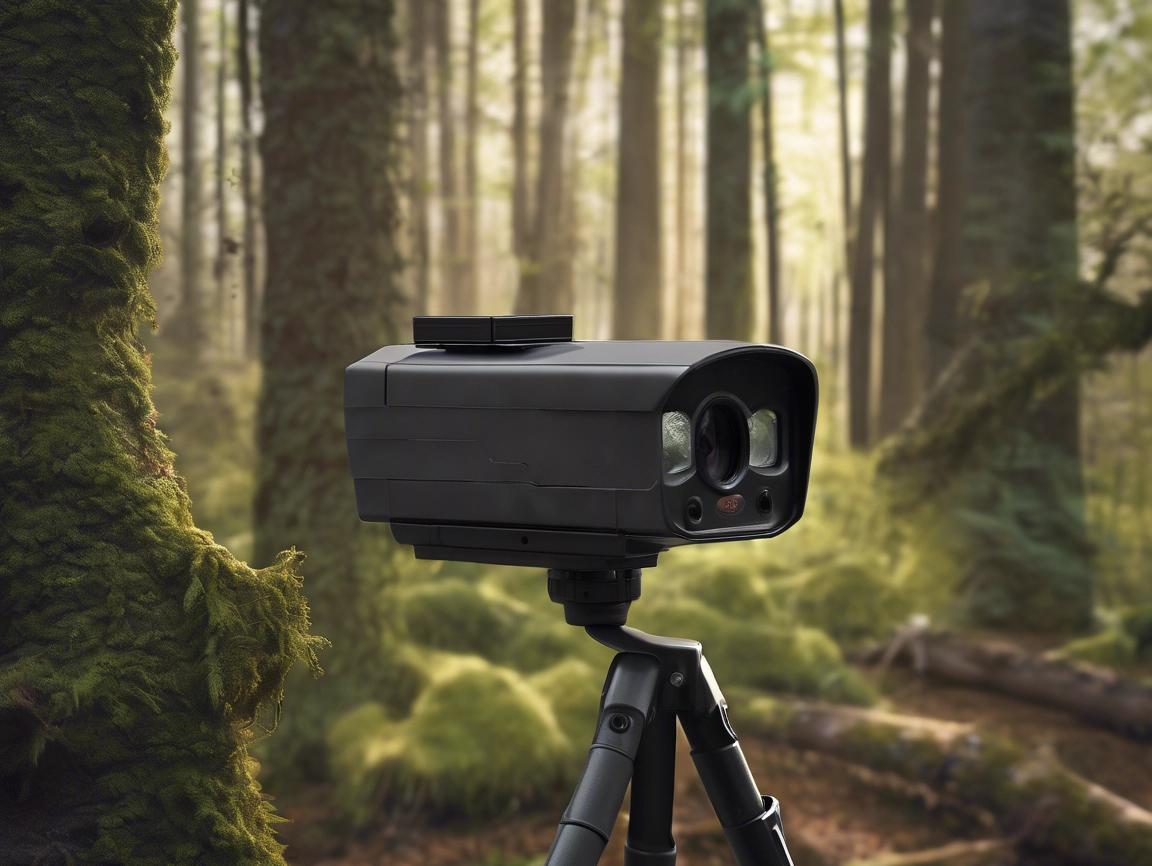
How to Build a Motion-Activated Wildlife Camera
Ever wonder what walks through your backyard at night—or who’s visiting your favorite trail while you’re away? With a motion-activated wildlife camera, you can capture candid shots of birds, deer, foxes, or even the neighbor’s cat.
Instead of buying a commercial trail cam, this DIY version gives you full control, customization, and that satisfying nerd cred.
What You’ll Need to Get Started
Your build will depend slightly on your platform (Raspberry Pi vs Arduino), but in general you’ll need:
- Raspberry Pi (Zero W, 3B+, or newer) or Arduino Uno/Nano
- PIR motion sensor (passive infrared sensor)
- Camera module (like the Pi Camera v2 or USB webcam)
- MicroSD card and battery pack or portable charger
- Weatherproof housing (a repurposed lunchbox or Pelican case works well)
- Optional: IR LEDs for night vision, solar panel for remote setups
Need supplies? Adafruit, The Pi Hut, and SparkFun are solid go-to retailers.
Sensor + Camera = Detection Power
The basic logic behind the build is this:
- The PIR sensor detects body heat movement
- It sends a signal to your board
- Your camera module captures an image or short video
- The file is stored or uploaded to cloud/local server
Mount your PIR sensor slightly elevated and angled downward for best range and accuracy. Don’t place it too close to vegetation—moving branches can cause false positives.
Writing the Code
If you’re using Raspberry Pi, Python is the easiest choice. For Arduino, you’ll use C++. Your script should:
- Initialize the sensor and camera module
- Use GPIO input to detect motion
- Snap a photo or video on detection
- Save the file with timestamp
- (Optional) Upload to Dropbox, Google Drive, or FTP server
You can use the PiCamera Python library or the Arduino’s built-in CameraWebServer example (if using ESP32-CAM).
Want a head start? Here’s a great walkthrough:
https://projects.raspberrypi.org/en/projects/security-camera
Power and Mounting Tips
- Power your setup using a battery pack or solar power bank if you’re placing it off-grid
- Keep all wiring enclosed and protected with weather-resistant tubing
- Angle your camera so it faces trails, food plots, or game paths—not into direct sun
- Consider adding a time-lapse mode for periods with no motion
This ensures you’re not missing wildlife action during the “quiet” times.
Optional Features to Nerd It Forward
Want to nerd it up a notch? Try these upgrades:
- Add night vision with IR LEDs and a NoIR camera lens
- Log activity to a CSV file with weather metadata from a paired weather sensor
- Build a web interface to view photos remotely
- Use AI image recognition to sort by animal type (TensorFlow Lite can run on Pi 4)
You’ll not only capture animals—you’ll understand their habits too.
Final Thoughts
Building a motion-activated wildlife camera is one of the coolest outdoor nerd projects you can tackle. It’s practical, exciting, and gets you closer to nature in a data-driven way.
With just a few parts and a bit of code, you’ll be watching deer, foxes, or nocturnal critters you never knew were there. You built it. Now go capture something wild.
